

From time to time I’ve been known to have purple hair. More than a handful of people have asked me just how I achieved such a color from inside the bathroom walls of University Hall (shhh, don’t tell my RA). So the last time I dyed my hair (about a week ago), I convinced some friends to help me document the process.
On top of these riveting images displaying me wrapped in an old purple towel, each step for acquiring a lavender head of hair is documented.
First and foremost, the tools needed:
1. A head of hair (an obvious necessity, but hey, it counts)
2. Bleach (I used this)
4. Container to put your bleach and hair dye in (I used this)
5. Shampoo (I used this)
6. Comb
7. Hairdryer
8. Old Towel
9. Old T-shirt
10. An Old Hair Tie
11. Hair Clips (I used these)
12. Shower
Step One:
Make sure you have not washed your hair 24 hours prior to this DIY activity. In order for the new color to truly adhere to your hair, there should be natural oils.
Step Two:
Brush out your hair. Personally, my hair seems to look like I have a slight perm at all times, so really make sure everything is sorted out.

Step Three:
Open up your bleach kit, that comes equipped with developer as well, and follow the instructions on the side of the bottle. This is also when you’ll get your handy-dandy hair dye cup out to have a final destination for said bleach.

Step Four:
Separate your hair into four sections. It might help to visualize dividing your hair in a way that resembles a mathematical plus sign on top of your head. I don’t know if that visual is helpful, but hey, that’s the best way to describe it.

Step Five:
Generously apply bleach and developer to every section of your head, as high as you’d like your final color to go up your head.

Step Six:
Let the bleach sit, the time depends on the darkness of a person’s hair. In order to help determine the amount of time you’ll need, I’ll have you know that I let my bleach sit for 35 minutes.

Step Seven:
Rinse out the bleach with shampoo. For best results, use the recommended shampoo listed earlier in this post to help get your hair as light as possible.

Step Eight:
Blow dry your hair and brush it out.

Step Nine:
Pour the hair dye into the same container that your bleach was in (make sure you have washed out the container!) and mix with a generic conditioner to dilute the hair dye.

Step Ten:
Section your hair off and apply hair dye to desired locations (make sure you have also cleaned the brush off from your previous use with the bleach!)

Step Eleven:
Pin your hair with the dye back and let it sit for about 45 minutes. The longer you let the color sit, the deeper the color will be.


Oh, look. It's me patiently waiting.


Step Twelve:
Rinse your hair out with water in the shower.
Step Thirteen:
Instagram the process, naturally.
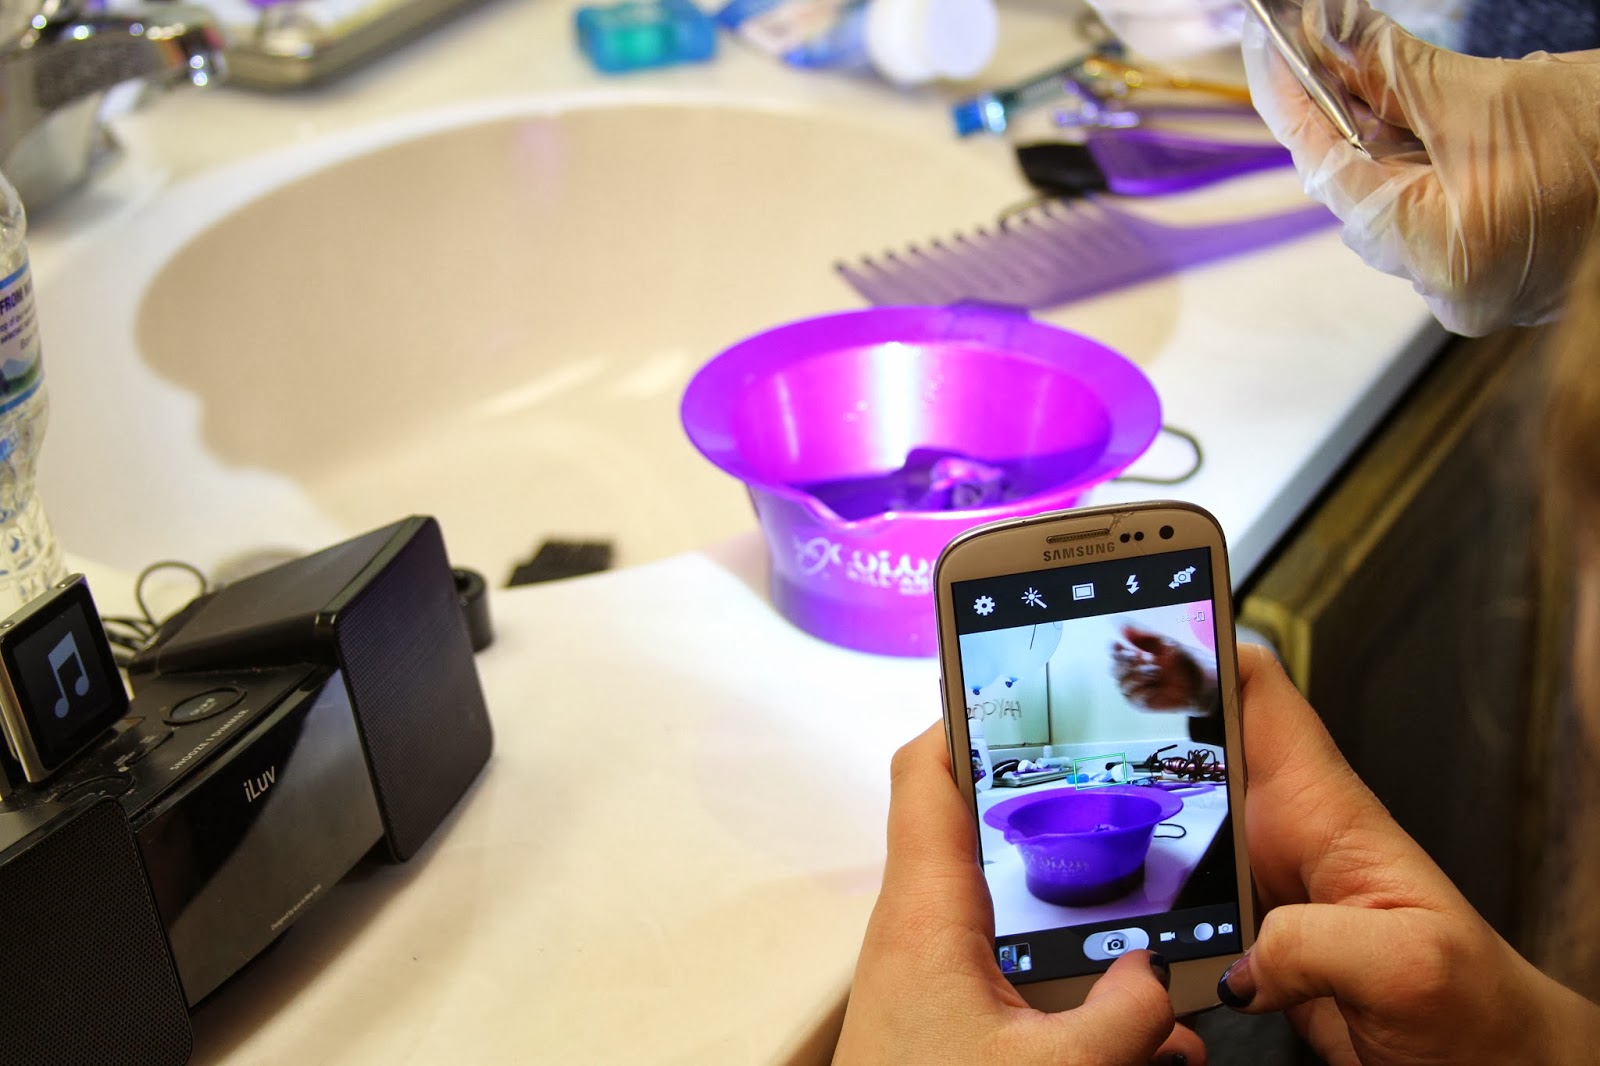
Here's the final result for me via my sassy Instagram account:

I hope these step-by-step instructions paired with visual documentations help all of you seeking out a new style! And can we all just have a quick laugh about this entire hair process happening in the dorms that may or may not be considered a policy violation? It’s all in the name of creativity.
- Leah
No comments:
Post a Comment